This release focuses on Flexible Nurse Calling improvements, expanded device support, and quality-of-life updates across the Professional App and Community Portal.
New BLE alarm buttons (Genus Assist)
We’re introducing a new range of BLE (Bluetooth Low Energy) alarm buttons designed for use inside care homes. These buttons support reliable alarming and (where enabled) indoor location tracking.
Available button types
- Wrist button
- Pull cord (ideal for toilet/bathroom use)
- Wall buttons (fixed buttons for rooms, hallways, etc.)

How to pair an alarm button
- On the Genus device go to: Menu → Connect → Devices → Add new device
- In the redesigned selection menu, choose Genus Assist
- Hold the button close to the Genus device
- Let Genus search. Genus will automatically detect and set up the button once found.

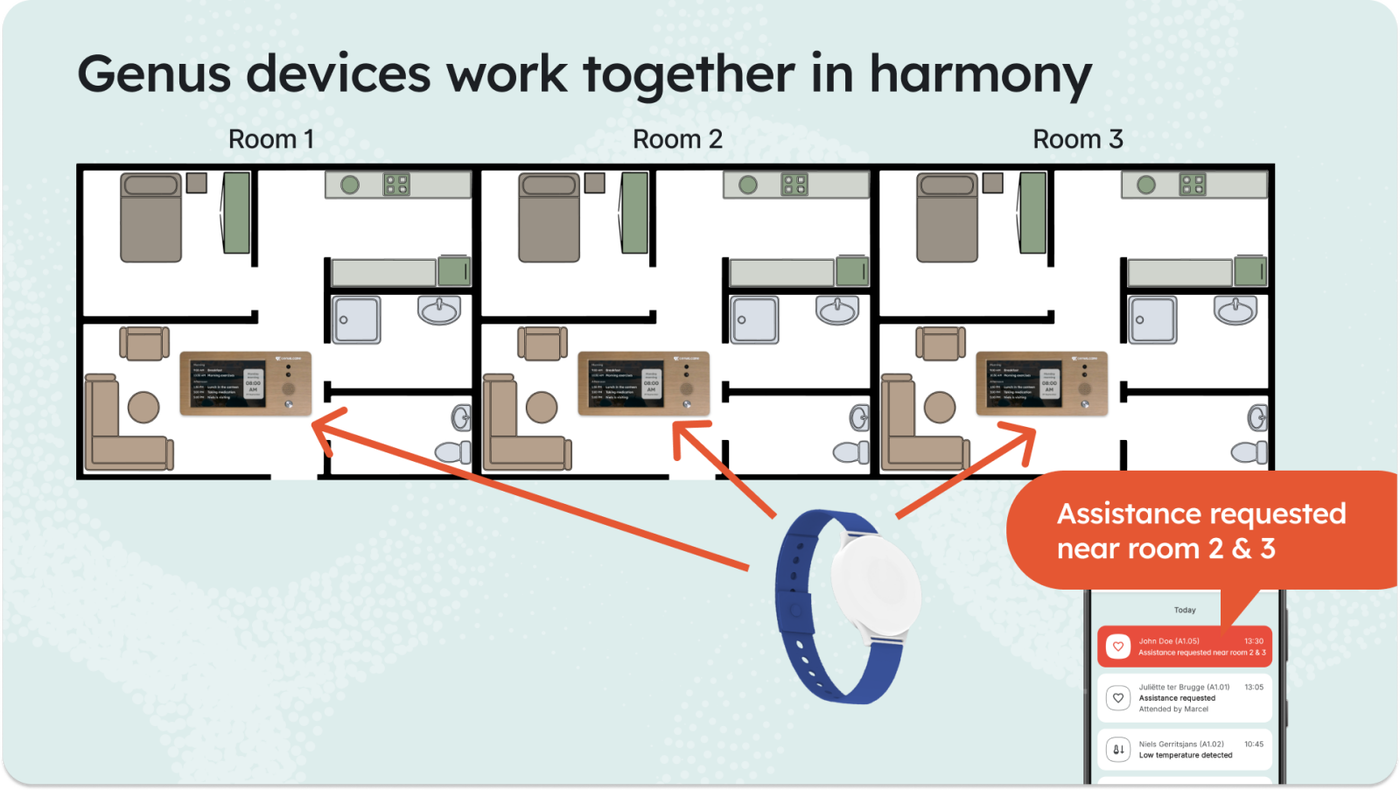
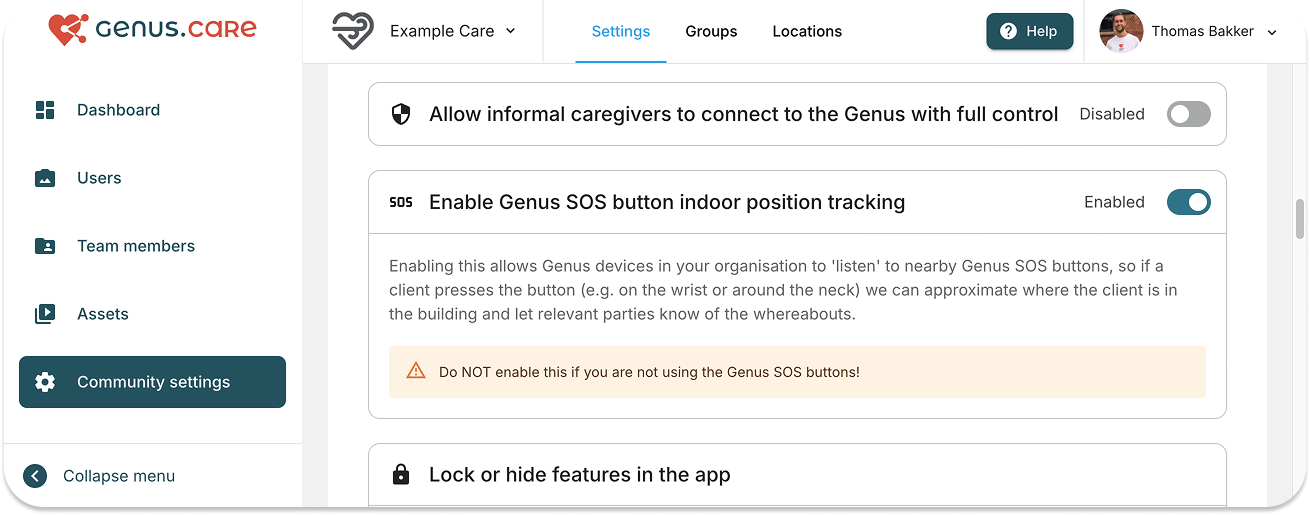
Indoor location tracking
In care homes where each room has a Genus device, you can enable indoor location tracking to help caregivers respond faster.
How it works
- Each Genus device can be assigned a room number.
- When an alarm button is pressed (e.g., in a hallway), nearby Genus devices communicate with each other to determine which one is closest.
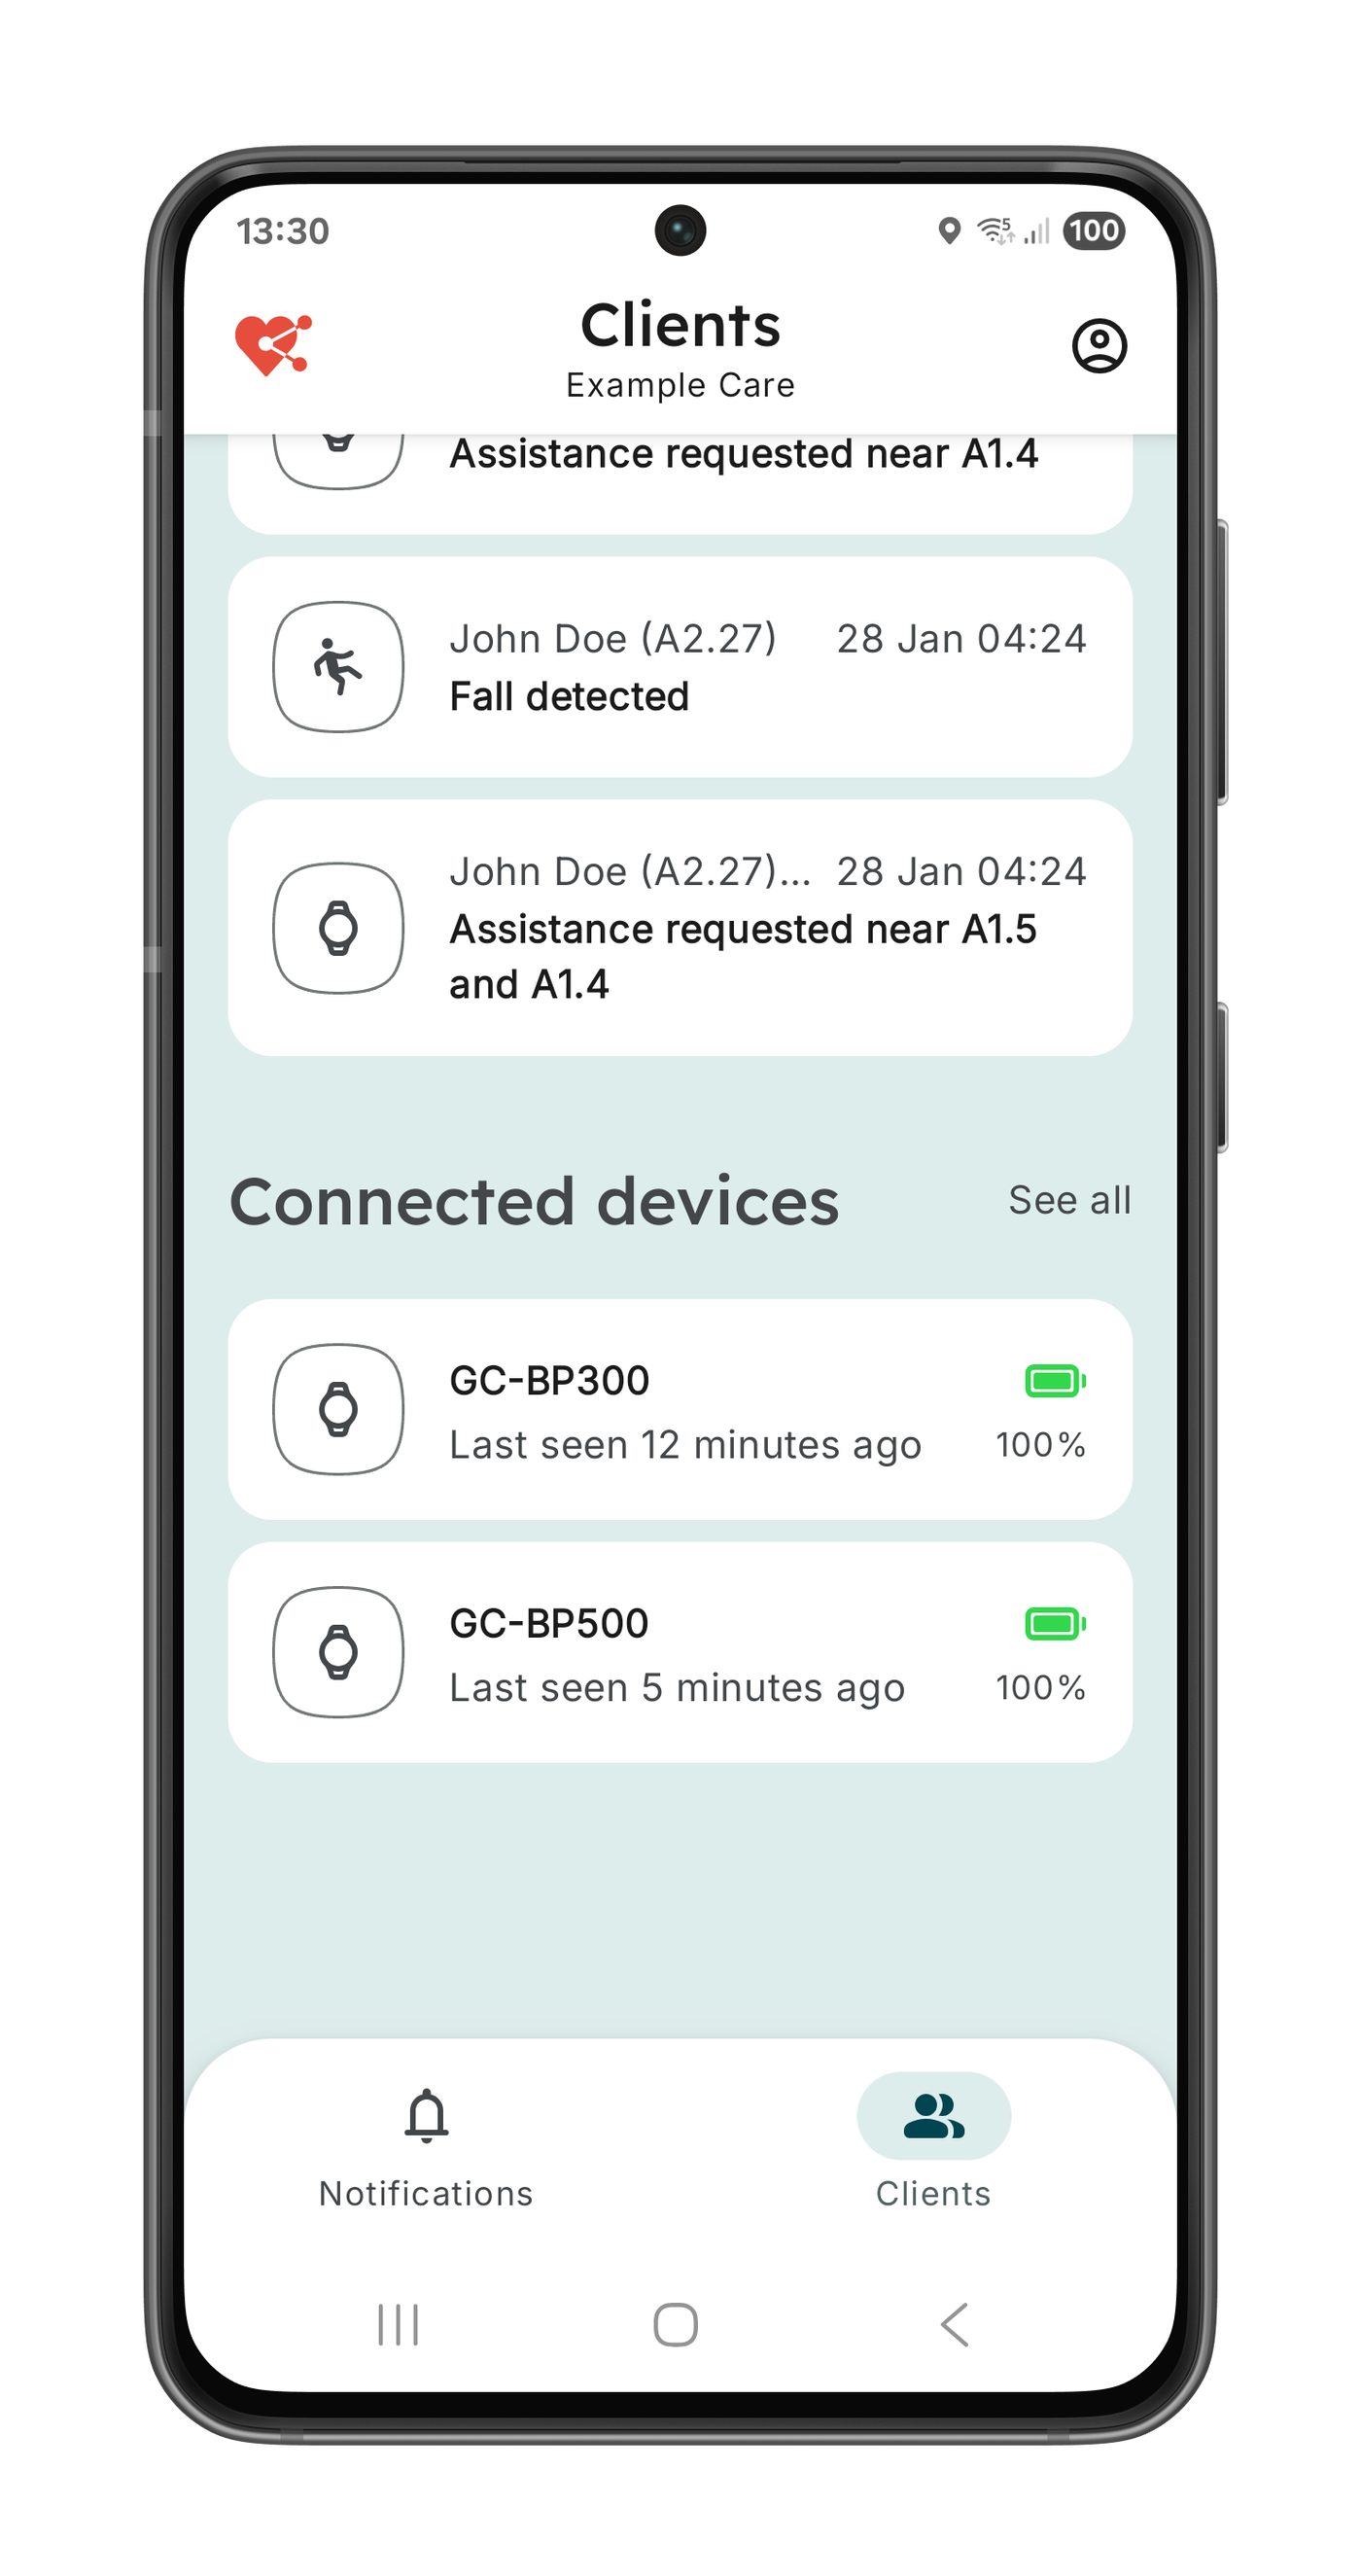
- The Professional App will show a clear location hint, for example:
“Assistance requested near room 2 & 3”
Enable location tracking
- Go to the Community Portal → Community Settings
- Enable Location tracking

Coverage for areas without nearby rooms (Gateways)
For locations such as a restaurant or public toilet where no room-based Genus device is nearby, a Genus Gateway can be deployed:
- The Gateway can be assigned a location name, so alarms can show:
“Assistance requested near the restaurant”
Current availability
- At this time, Gateways must be deployed with configuration support from the Genus development team.
- In a future update, Gateway deployment / configuration will be added to the Deployer App so integrators can manage this independently.
Flexible Nurse Calling — Device visibility
Connected devices are visible in the Professional App, the Community Portal and the Genus device. For every device the battery status is shown as well as the last time it was seen.
Family access controls (Community Portal)
Healthcare communities can now control what family members are allowed to access when they connect.
You can allow family members to use communication features only, such as:
- Sending photos
- Messaging
- Starting video calls
…without granting access to:
- Assistance requests
- Sensor insights
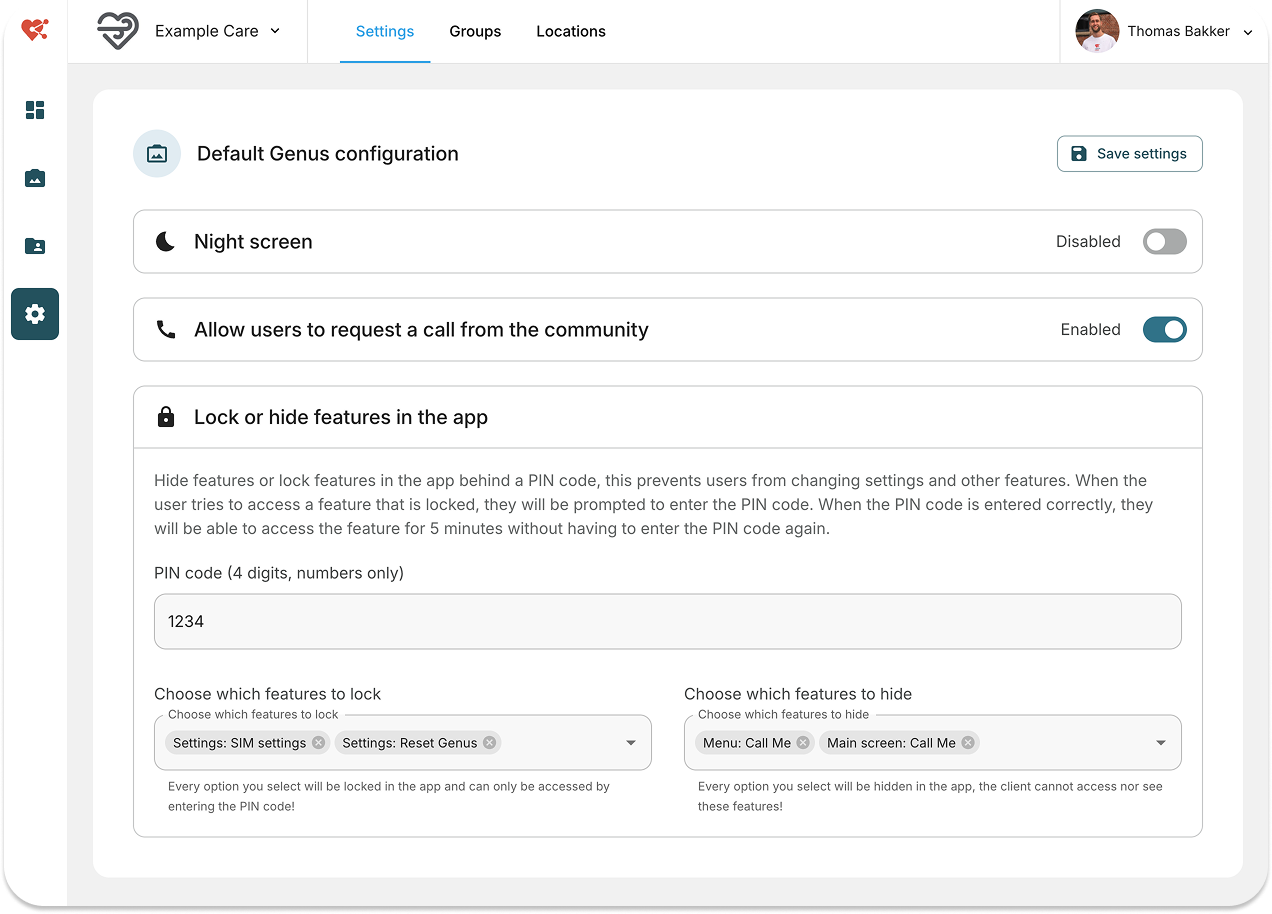
How it’s managed
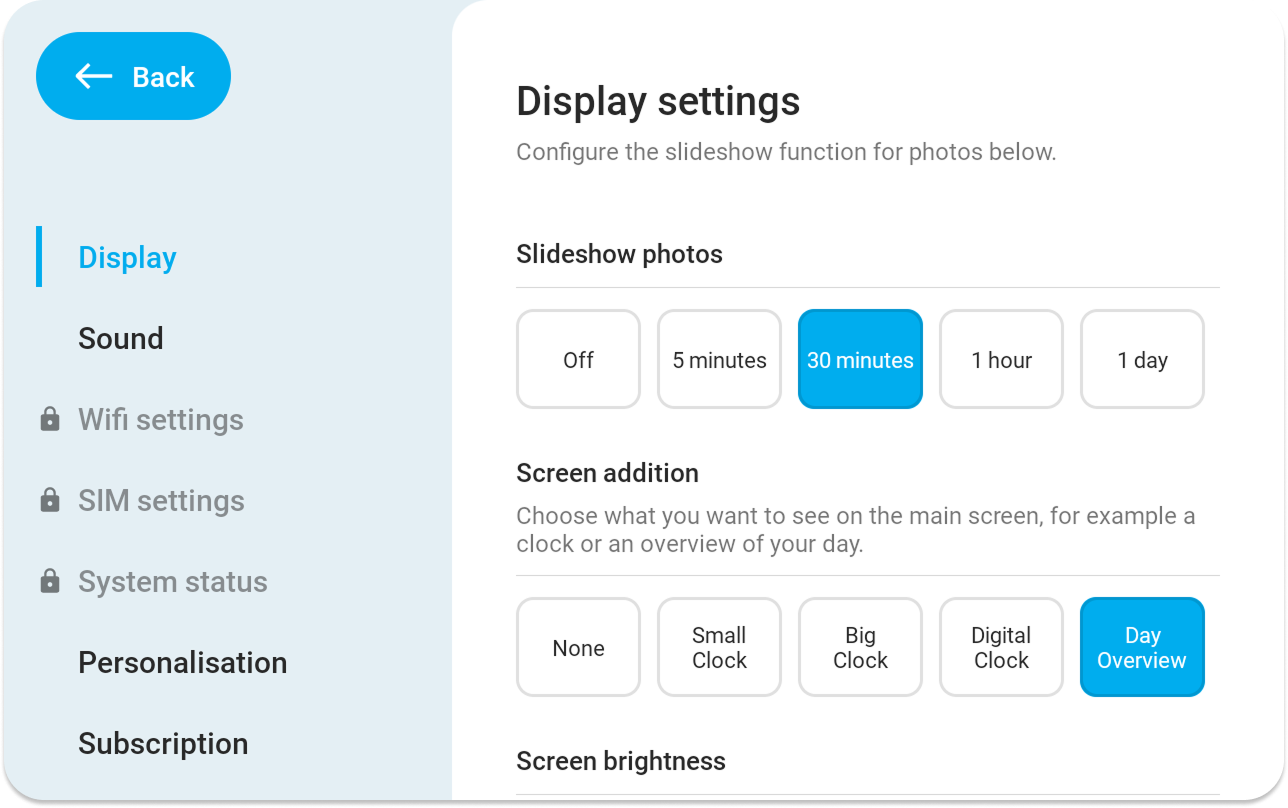
- Configure in Community Portal → Community Settings (Insert screenshot)
- For care organisations, this is restricted by default.
- If a care organisation wants to grant full access, an admin can toggle full access in Community Settings
Changes to alarming
This update improves clarity, reliability, and the client experience during alarming.
What’s new
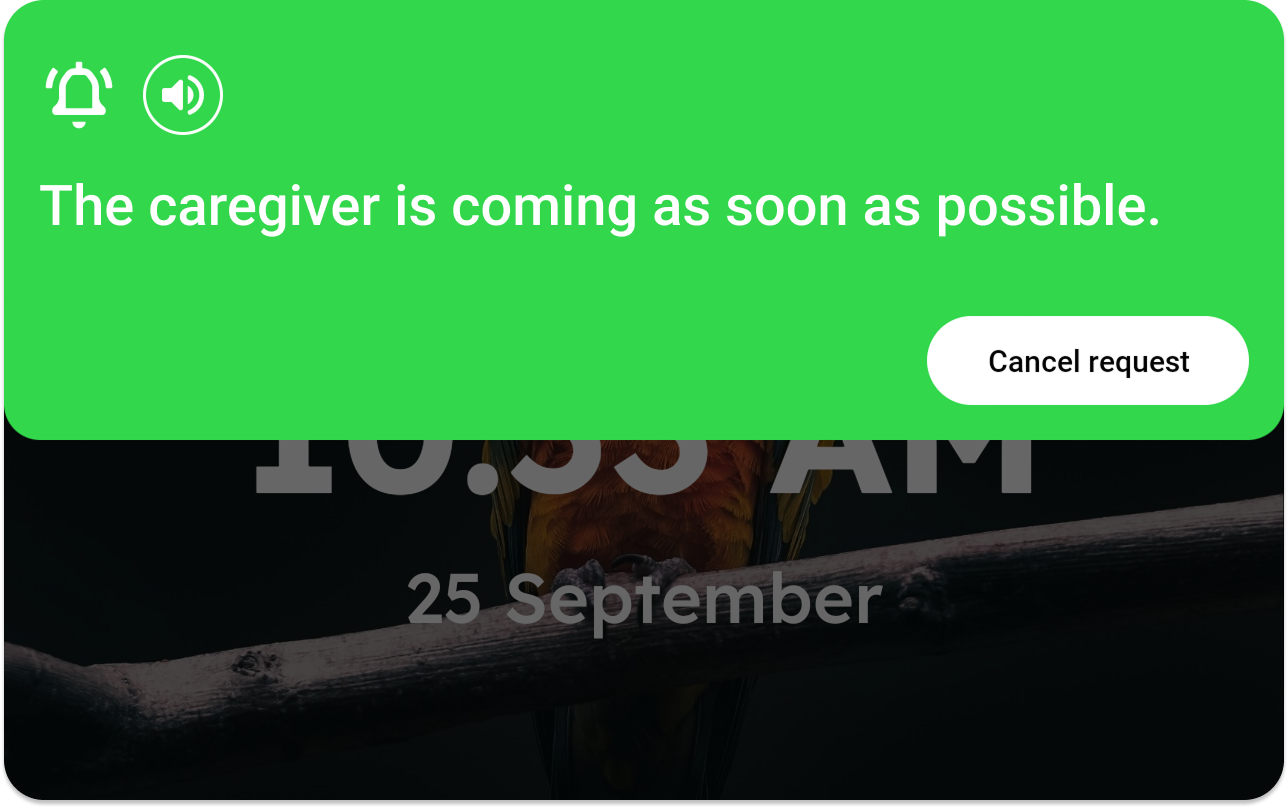
- Text-to-speech confirmation: the client is informed that the alarm was sent successfully.
- Text-to-speech for alarm reactions: additional voice feedback during alarm handling.
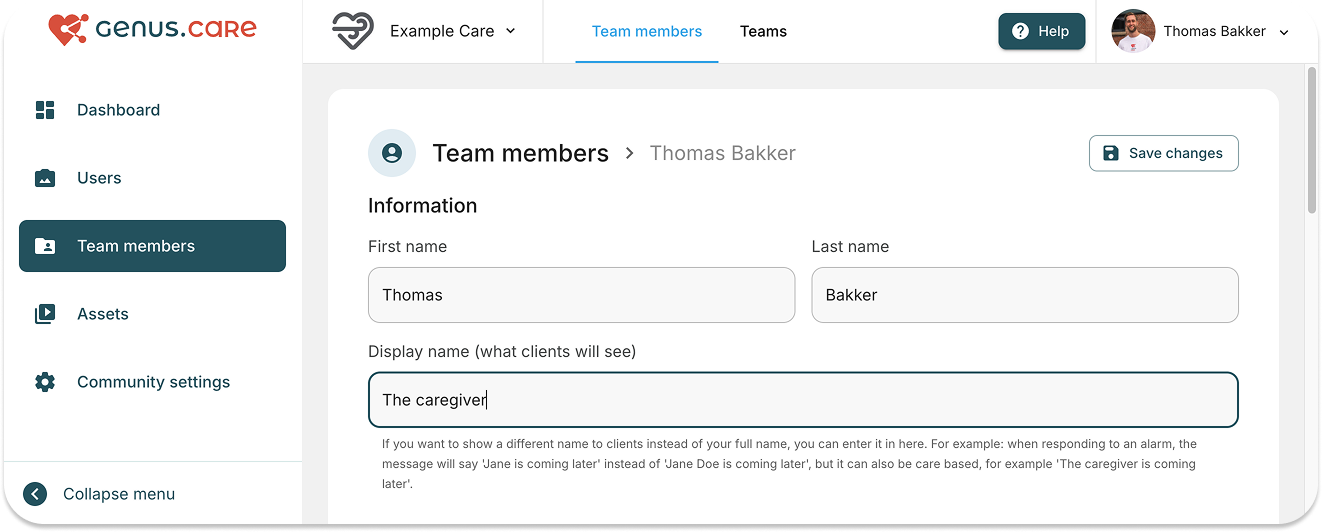
- Caregiver alias (client-facing name): caregivers can set an alias (e.g., “Caregiver”) shown to the client instead of their personal name .
Example: “Caregiver is coming soon” instead of “Thomas is coming soon”
- Improved text-to-speech voice stability.
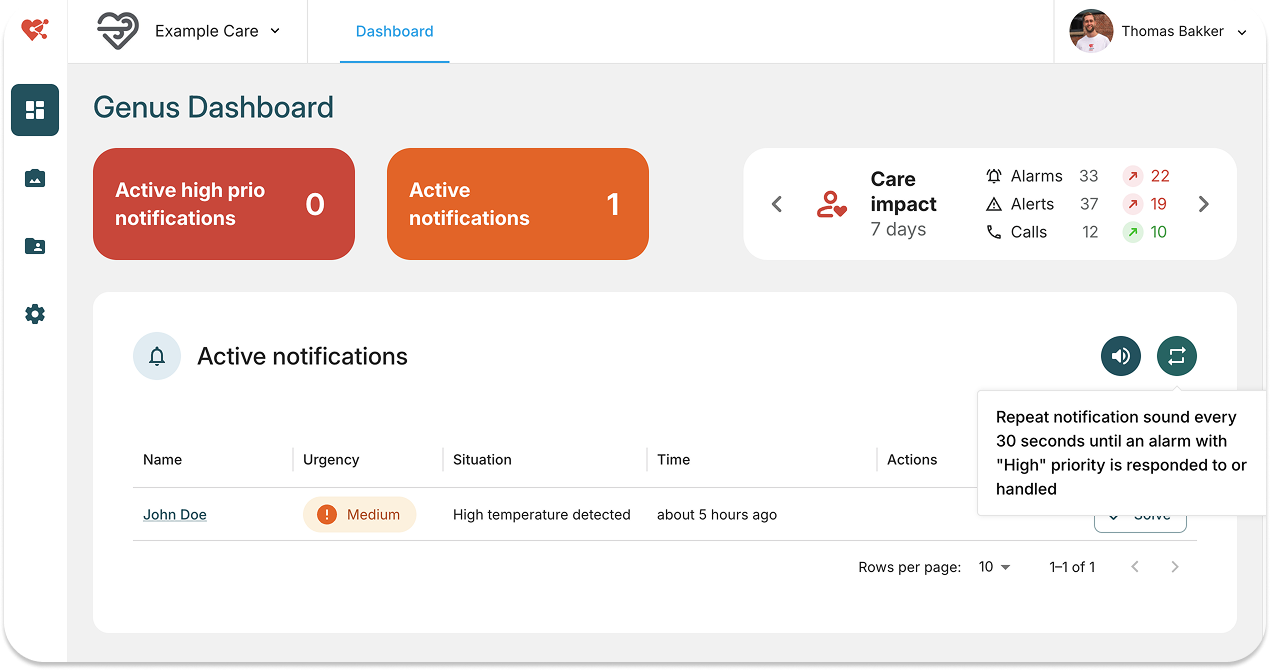
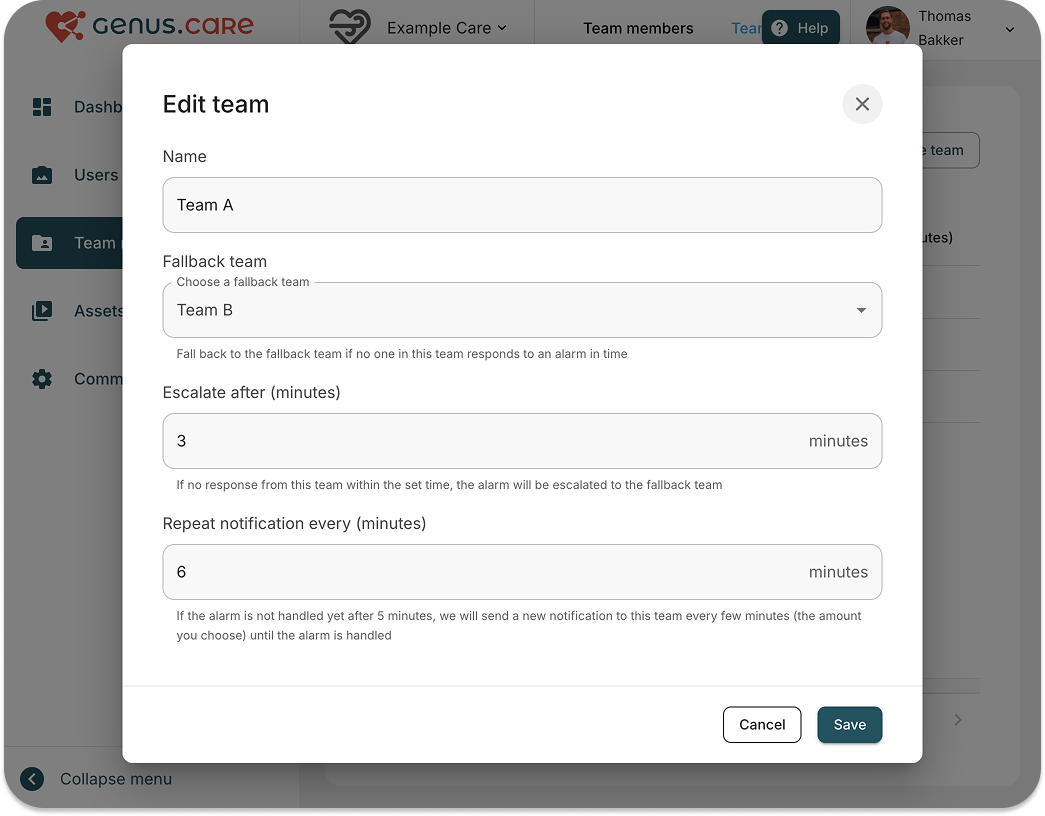
- Repeating assistance notifications: notifications now repeat until handled. This is configurable per team
Professional App updates
- Assistance requested system notification is removed when the assistance request is solved (for a cleaner notification experience).
- Improved date / time formatting for different countries / locales.
- Video calls now automatically switch to speaker mode.
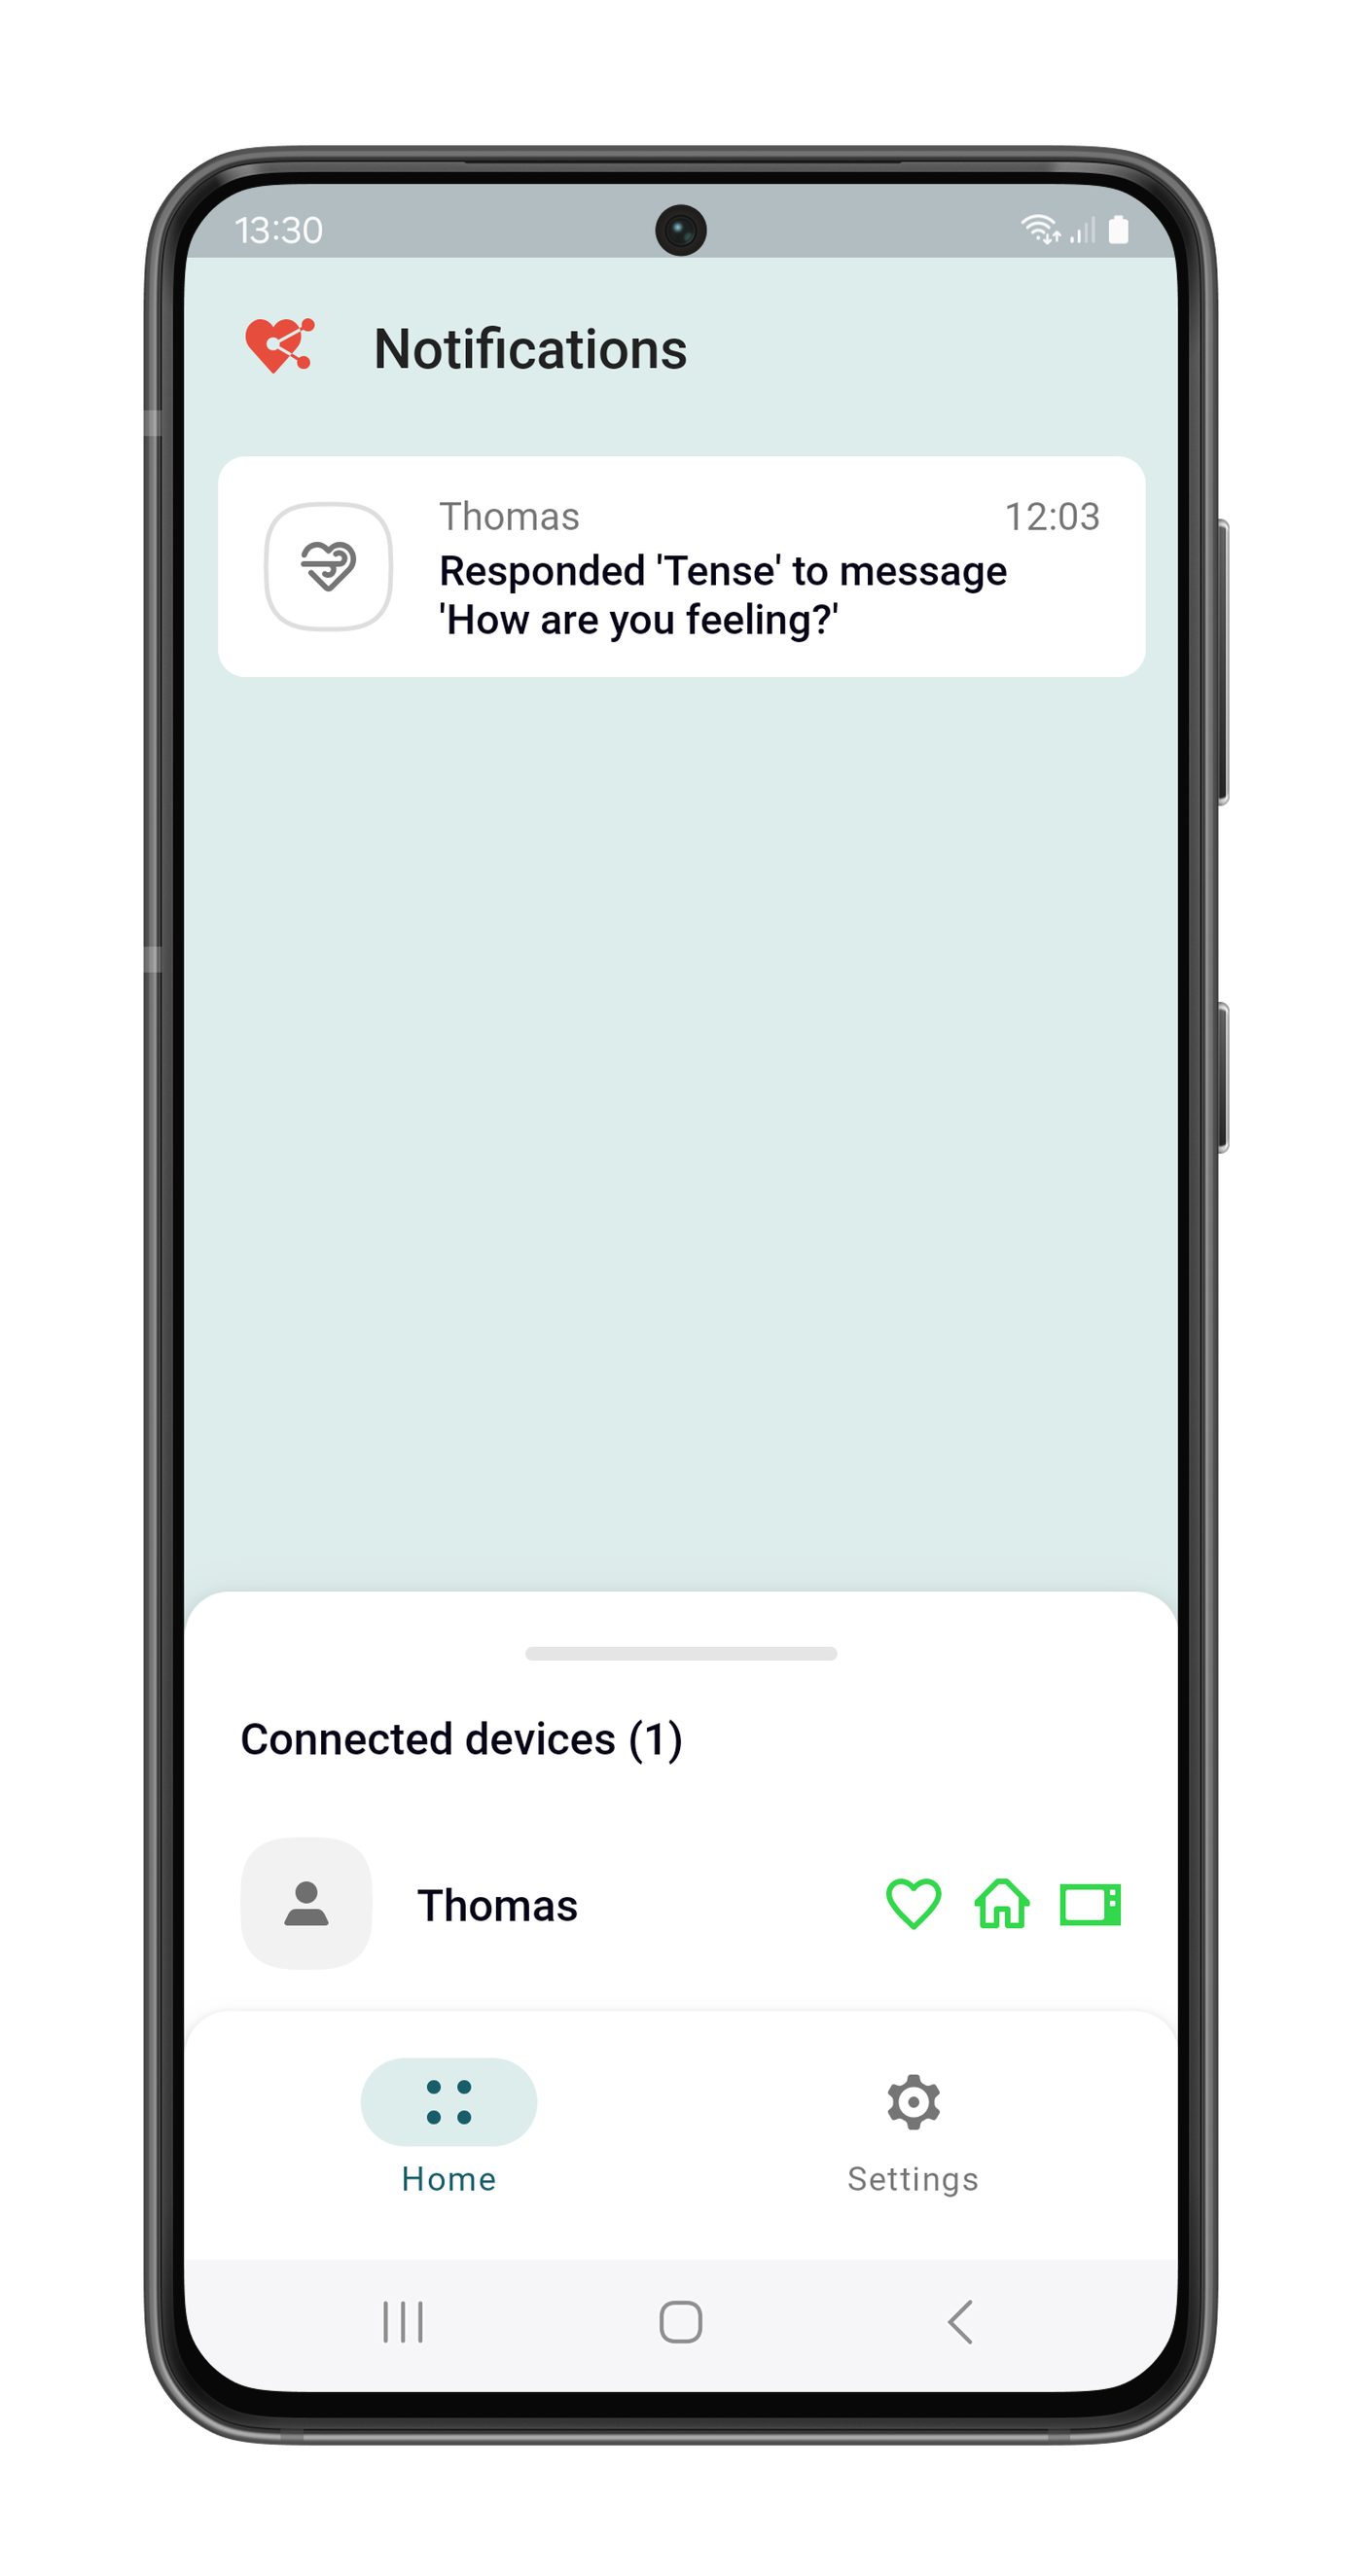
- Added historic notifications (view past notifications)

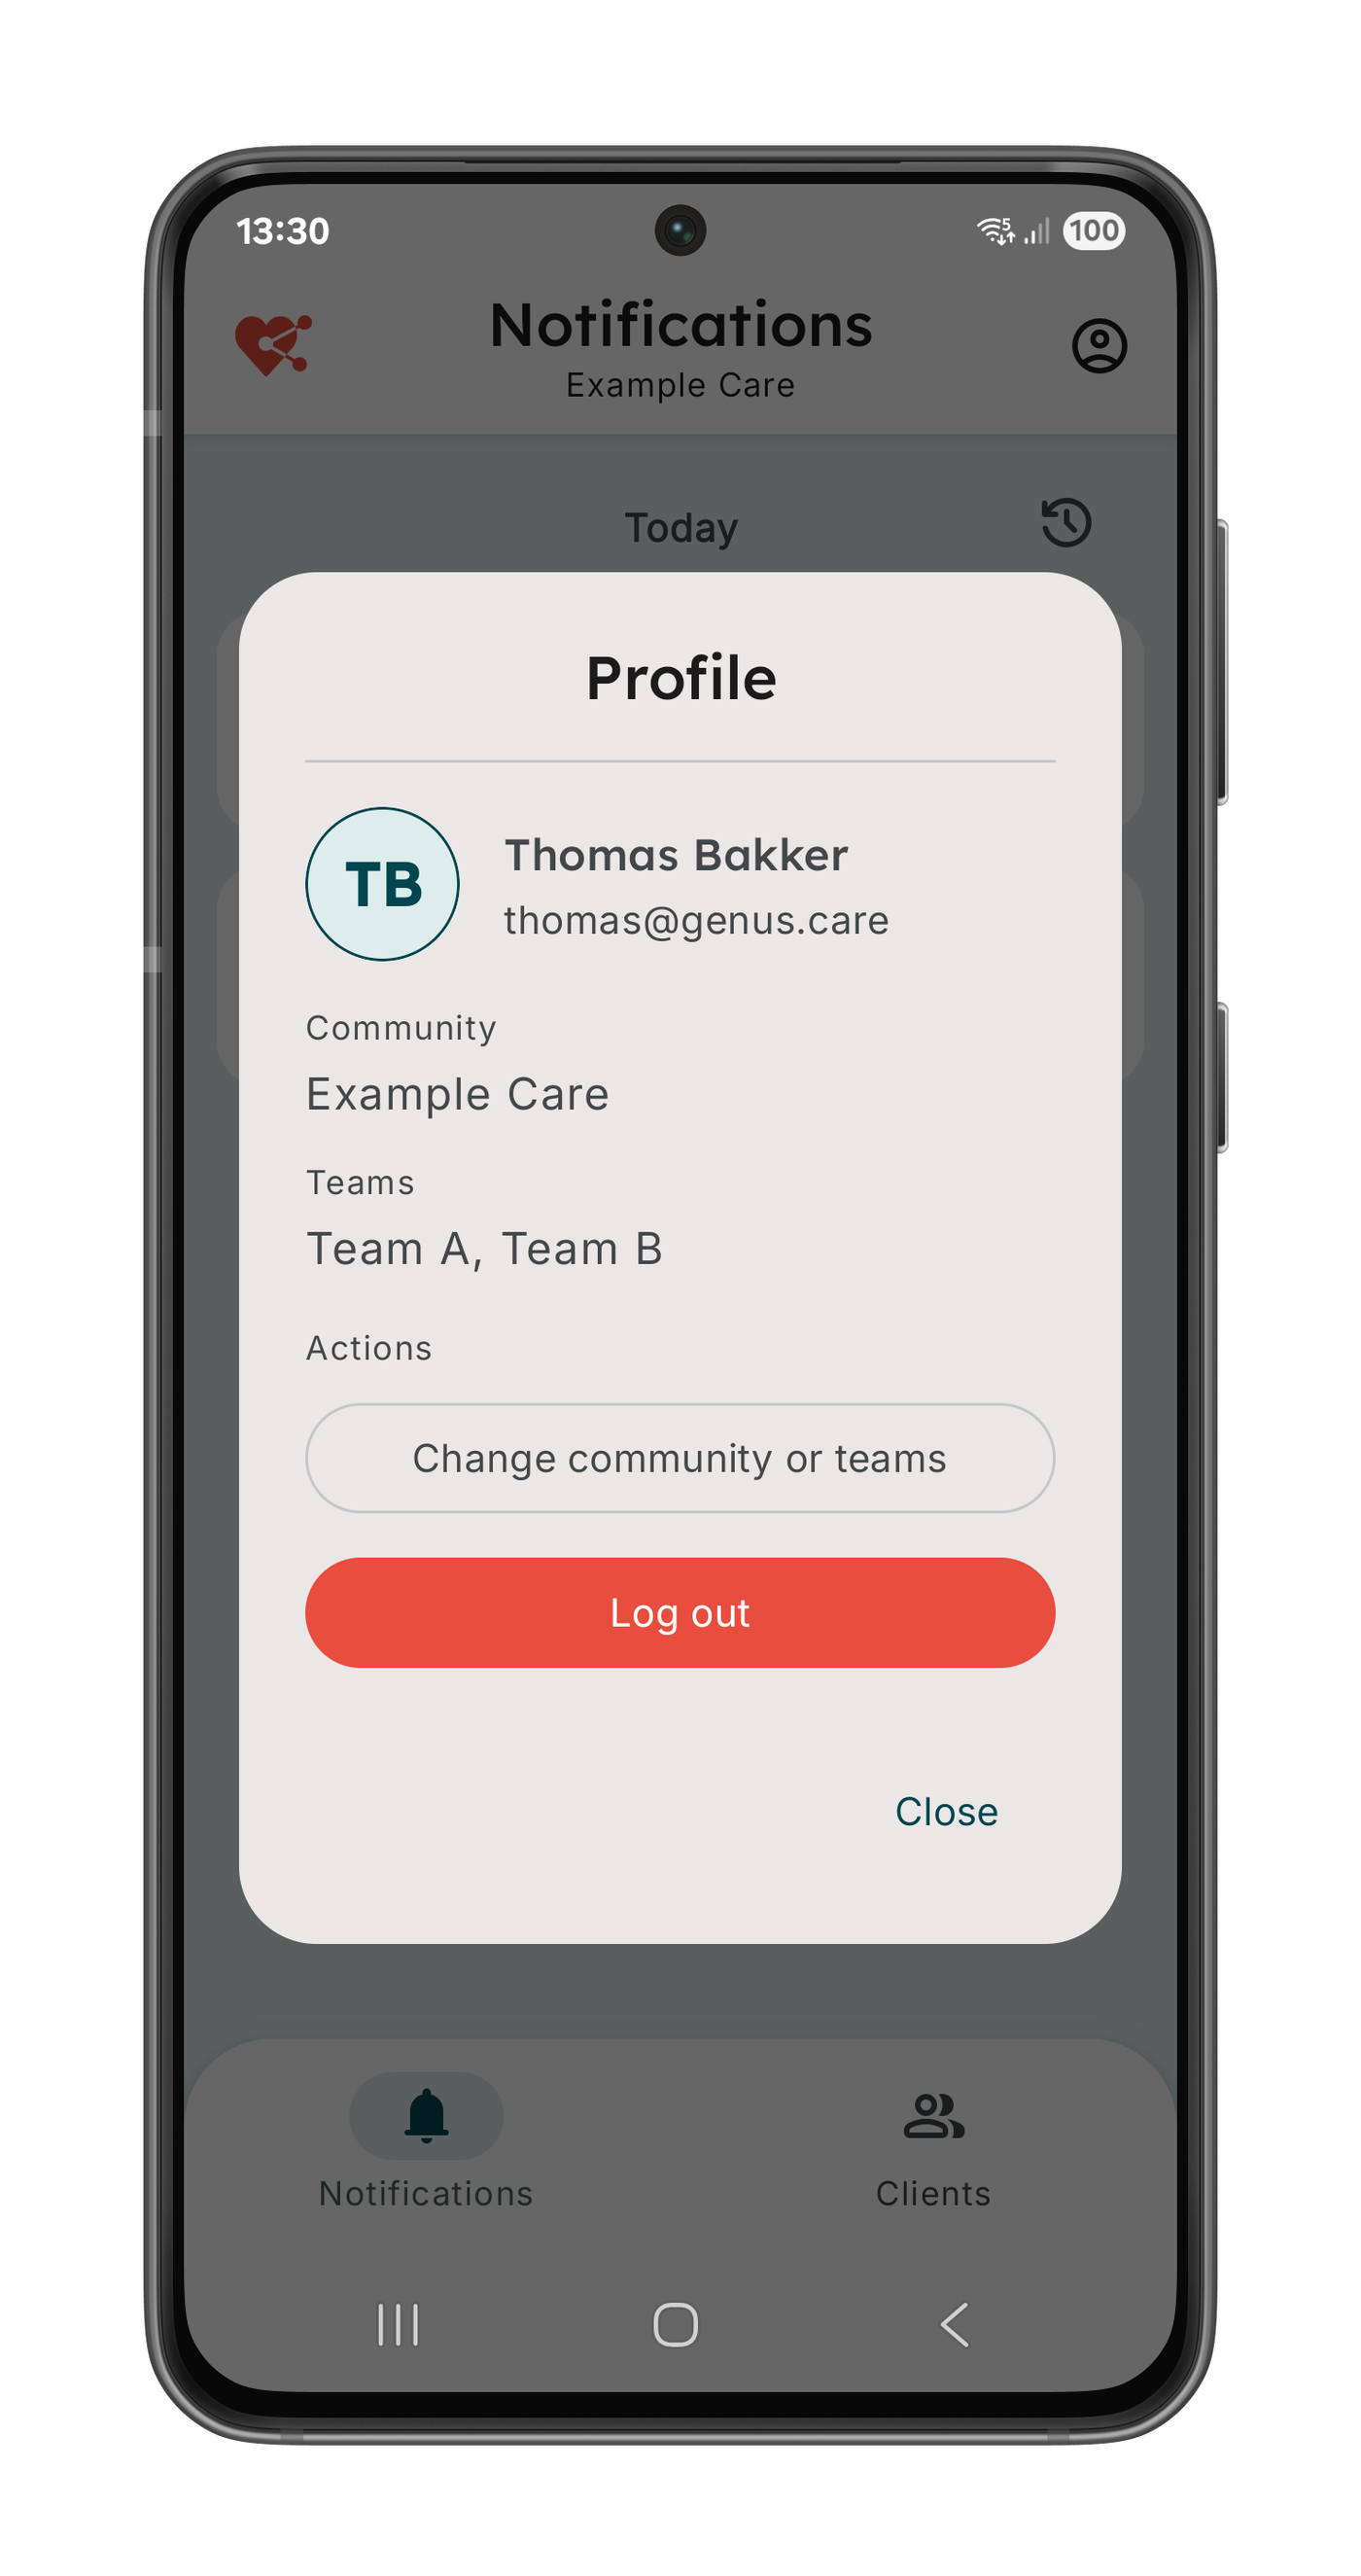
- New / updated Profile page.
- Support for unrestricted battery usage (to improve background reliability where permitted).
- Faster notifications (improved delivery speed).
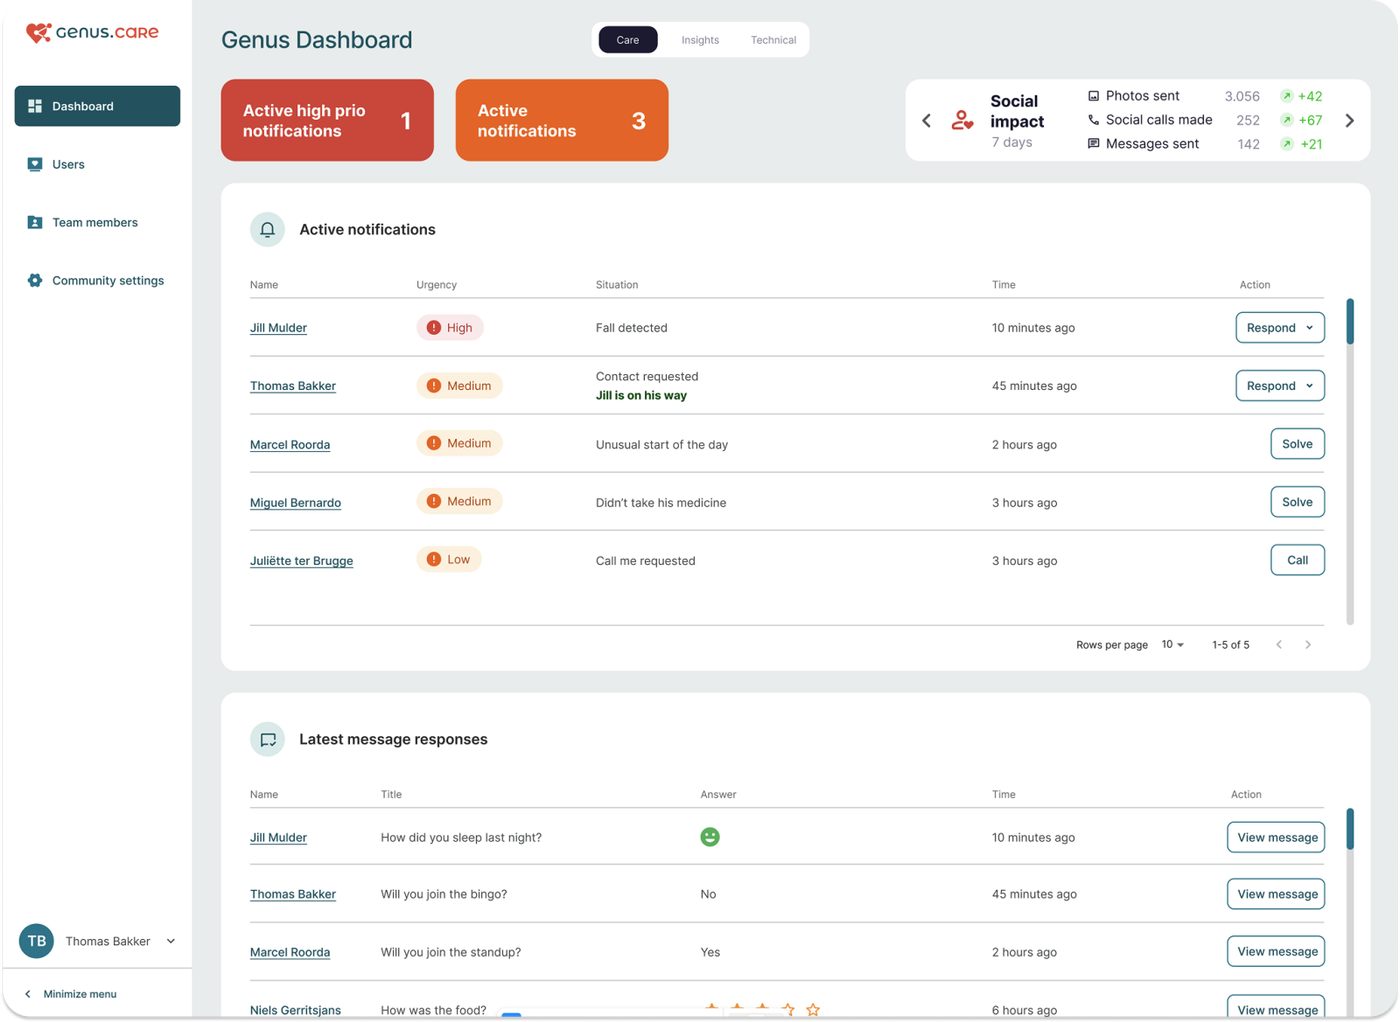
Community Portal updates
- Teams added to the client overview
- New team filter to quickly find and manage clients by team
Manual of the Professional App
A manual for the Professional App was created and can be found here: https://drive.google.com/drive/folders/13OkPckYxuJzTsTCnMmSQGiGIPTx6HAxJ